【Phaser3入門】Vite+Phaser3を使ってTypescriptでゲームの側を作る
前提
GitとNodeが必要です
Nodeのバージョンはv16.6.1を使用しています
アプリを作成する
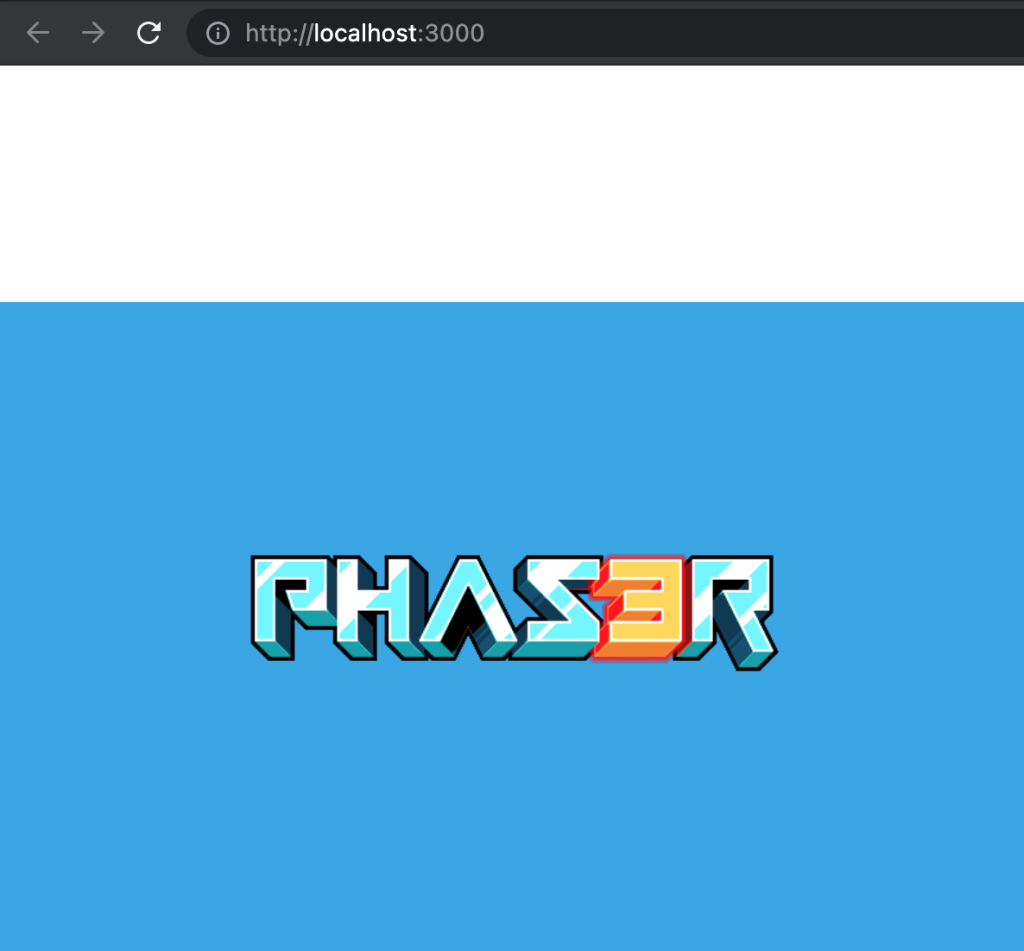
目標は公式の出しているこの画面を表示して、簡単に書き換えるところです
https://phaser3-rollup-typescript.netlify.app/
git clone https://github.com/geocine/phaser3-rollup-typescript.git sample-project
起動する
sample-projectディレクトリに移動して、外部ライブラリをインストールする
npm i
インストールが終わったら起動コマンドをコマンドラインでうつ
npm run dev
タブに表示されるアプリ名を変える
src/index.htmlを開いて<title>の中身を書き換えます
<!DOCTYPE html>
<html lang="en">
<head>
<title>サンプルプロジェクト</title>
<meta charset="utf-8" />
<style>
body {
margin: 0;
}
</style>
<script type="module" src="/src/index.ts"></script>
</head>
<body>
<div id="game"></div>
</body>
</html>
サンプルプロジェクトの部分をゲームの名前にしてください
これでタブに表示される名前が変わります
画像を変更する
表示されているのはGameSceneなので、scenes/Game.tsを開きます
import Phaser from 'phaser';
export default class Demo extends Phaser.Scene {
constructor() {
super('GameScene');
}
preload() {
this.load.image('logo', 'assets/phaser3-logo.png');
}
create() {
const logo = this.add.image(400, 70, 'logo');
this.tweens.add({
targets: logo,
y: 350,
duration: 1500,
ease: 'Sine.inOut',
yoyo: true,
repeat: -1
});
}
}
preloadでassets/phaser3-logo.pngファイルをlogoという名前をつけて読み込んで、
createでlogoという名前で呼び出しています
用意した画像に名前butterflyをつけて読み込んで、呼び出していきます 
import Phaser from 'phaser';
export default class Demo extends Phaser.Scene {
constructor() {
super('GameScene');
}
preload() {
this.load.image('butterfly', 'character/butterfly.png');
}
create() {
const butterfly = this.add.image(200, 400, 'butterfly');
this.tweens.add({
targets: butterfly,
y: 350,
duration: 1500,
ease: 'Sine.inOut',
yoyo: true,
repeat: -1
});
}
}
publicディレクトリにcharacterというディレクトリを作成してその中にbutterfly.pngを入れました
これでlocalhost:3000を開くと
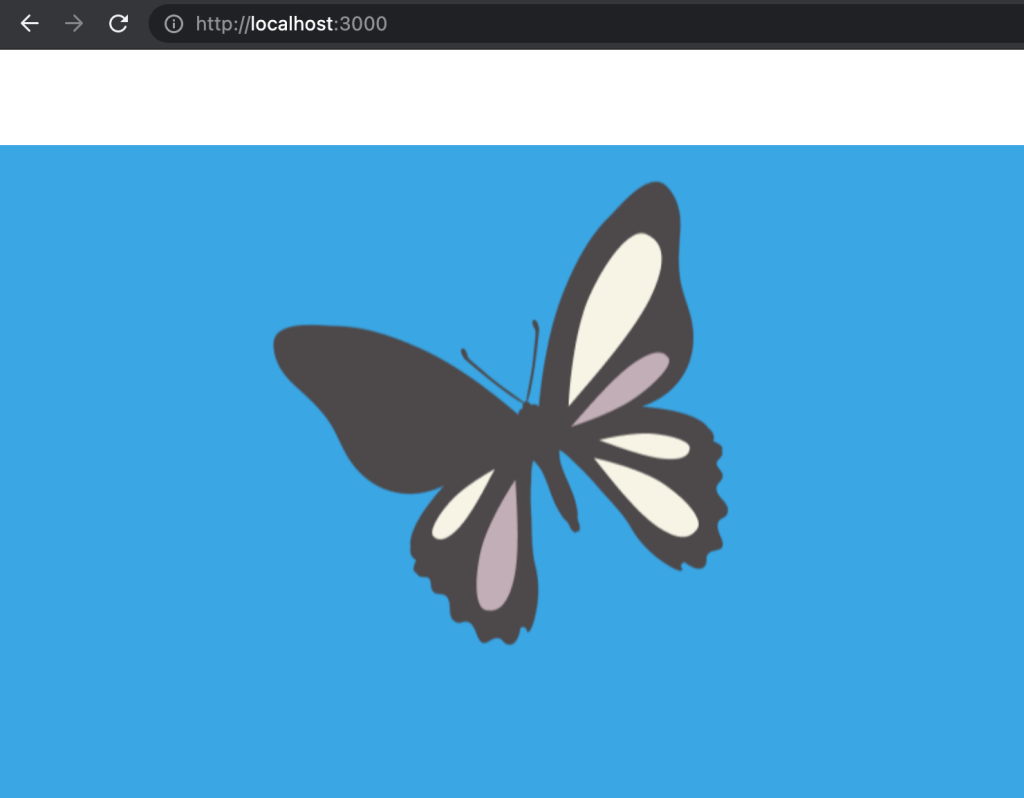
画像が切り替わりました
this.add.imageの引数の1,2番目はそれぞれ左上からのx, y座標になるので 左下に移動しました
動きを変える
this.tweens.add...の部分で画像に動きをつけているので、ここに違う動きを入れてみます
import Phaser from 'phaser';
export default class Demo extends Phaser.Scene {
constructor() {
super('GameScene');
}
preload() {
this.load.image('butterfly', 'character/butterfly.png');
}
create() {
const butterfly = this.add.image(200, 400, 'butterfly');
this.tweens.add({
targets: butterfly,
scaleX: .8,
scaleY: .8,
duration: 600,
ease: 'Cubic.InOut',
yoyo: true,
repeat: -1
});
this.tweens.add({
targets: butterfly,
x: 600,
y: 200,
duration: 2000,
ease: 'Quadratic.InOut',
yoyo: true,
repeat: -1
});
}
}
蝶が行ったりきたりしているように変更されたと思います
上のtweensでは大きさを変え、下のtweensでは移動したい座標を指定しています
yoyo:trueで行ったりきたりをさせ、repeat:-1でずっとループさせています
まとめ
簡単な変更でしたが、基本の動きなのでこれとあと当たり判定ができればアクションゲームならゲームっぽくなるのではないかなと思います
参考
geocine/phaser3-rollup-typescript
phaser3 examples
phaser3 Ease